
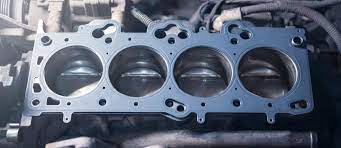
An aluminum gasket is a sealing component commonly used in various industries, including automotive, aerospace, and manufacturing.
It is a thin, flat piece of aluminum with a shaped profile designed to fit between two surfaces to prevent leakage of fluids or gases.
Aluminum gaskets are preferred for their excellent thermal and electrical conductivity, corrosion resistance, and lightweight properties.
They are also known for their durability, making them ideal for use in high-pressure and high-temperature applications. Below are the steps for cleaning aluminum gasket surfaces.
Table of Contents
How To Clean Aluminum Gasket Surfaces
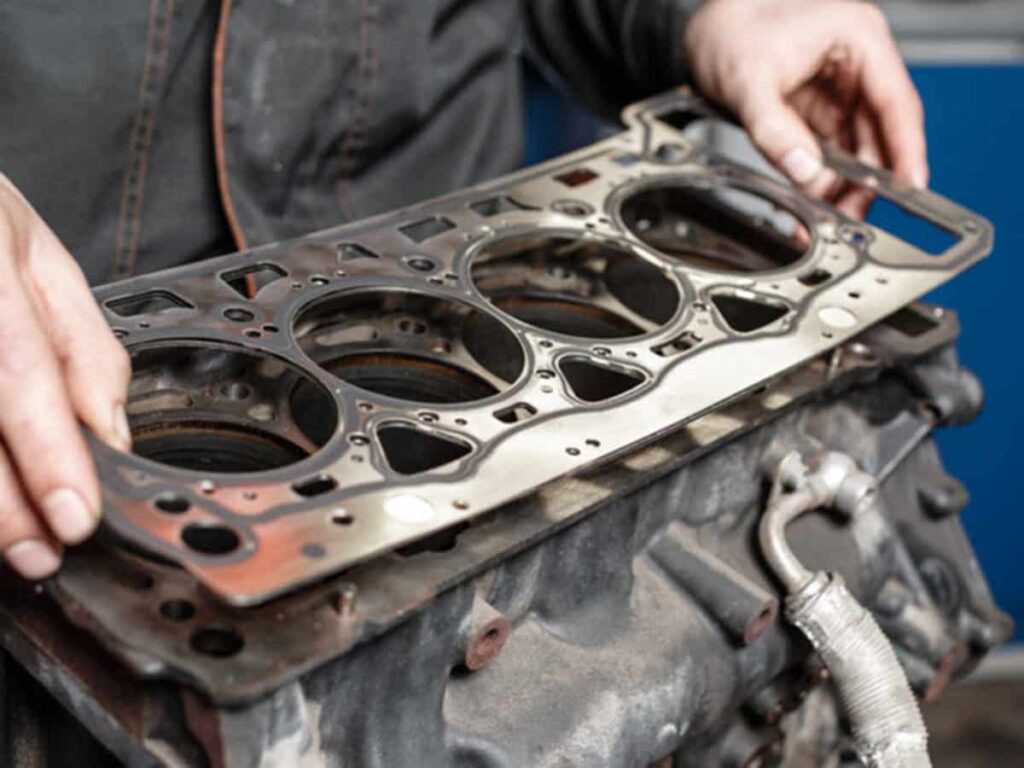
Cleaning aluminum gasket surfaces is an important task that needs to be performed before replacing a gasket. The gasket surface needs to be clean and free of debris and contaminants to ensure a proper seal between the gasket and the mating surface.
Here are the steps to follow in cleaning an aluminum gasket surface:
Remove the Old Gasket:
The first step is to remove the old gasket. You can use a scraper or a razor blade to remove the old gasket. Be careful not to damage the gasket surface while removing the old gasket.
Clean the Surface
Once you have removed the old gasket, you need to clean the surface. You can use a gasket scraper, a wire brush, or a sandpaper to remove any remaining gasket material or debris. These three are good cleaning tools for the gasket surfaces. Be careful not to scratch or gouge the surface of the aluminum.
Apply a Degreaser:
After cleaning the surface, you need to apply a degreaser to remove any oil or grease that may be present on the surface. You can use a commercial degreaser or a mixture of water and a mild detergent. Apply the degreaser to the surface and let it sit for a few minutes before wiping it off with a clean rag.
Rinse the Surface
After using the degreaser, you need to rinse the surface with water to remove any remaining debris or contaminants. Use a hose or a spray bottle to rinse the surface with water.
Dry the Surface
Once you have rinsed the surface, you need to dry it completely before installing the new gasket. Use a clean rag or compressed air to dry the surface. Make sure that there is no moisture left on the surface.
Inspect the Surface
Finally, inspect the surface for any remaining debris or contaminants. If you find any, repeat the cleaning process until the surface is clean and debris-free.
Following the steps outlined above, you can ensure that the gasket surface is clean and ready for a new gasket. Remember to use caution when using a scraper or wire brush to avoid damaging the surface of the aluminum.
Additionally, always wear protective gloves and eyewear to avoid injury while cleaning the gasket surface.
The No-Nos Of The Gasket Surface Cleaning
When cleaning a gasket surface, it’s important to use the right tools and products to avoid damaging the surface. Some products and tools should never be used to clean a gasket surface, as they can cause scratches, gouges, or other damage that may compromise the integrity of the seal.
One of the most common mistakes people make in the process of gasket surface cleaning is using abrasive products, such as sandpaper, Scotch-Brite pads, Roloc discs, body grinders, or Roloc bristle discs.
While these products may be effective at removing dirt and debris, they can also scratch or gouge the surface of the gasket, making it difficult to form a proper seal.
Scotch-Brite pads
Scotch-Brite pads, for example, are often used to clean surfaces in the automotive industry, but they can be too abrasive for gasket surfaces. They are made of a woven nylon material that is impregnated with abrasive particles. While they can be useful for removing rust or other tough stains, they can also create scratches on the surface of the gasket that can compromise the seal.
Roloc discs
Roloc discs are another product that should be avoided when cleaning a gasket surface. These discs are typically used with an angle grinder and are designed to remove rust and other surface contaminants quickly. However, they can be too aggressive for gasket surfaces and can cause damage that is difficult to repair.
Body grinders
Body grinders are yet another tool that should never be used to clean a gasket surface. These grinders are designed to remove paint and body filler from metal surfaces, but they can also create deep scratches that can damage the gasket surface.
Screwdrivers
Screwdrivers are also not recommended for cleaning gasket surfaces. While they may seem like a handy tool to use to remove debris from a hard-to-reach area, they can easily scratch or gouge the surface of the gasket, making it difficult to form a proper seal.
Instead, use a gasket scraper, a wire brush or a soft-bristled brush, and mild detergent to clean the surface. With the right tools and patience, you can clean a gasket surface effectively without causing any damage.
Conclusion
There are several considerations you should make before working on an automobile. Making certain that all of the pieces are clean and in good shape is among the most crucial tasks.
It is crucial to ensure that all the gaskets are clean when working on the engine, in particular.
Any dirt or dust on the gasket’s surface might interfere with the seal and leak.